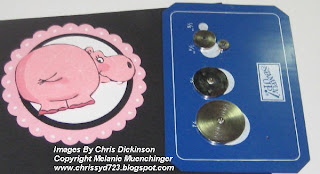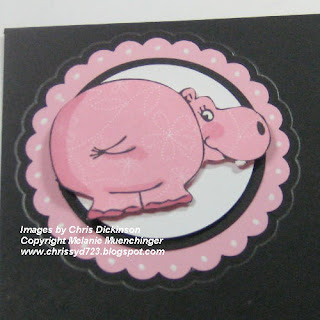
I have received several e-mails and requests as to how I use my Layer Ease. I decided today that I would pull it out and make a tutorial.
Supplies needed: Pencil or another writing utensil, Layer Ease, Adhesive, cardstock, scissor
1. Adhere image or shape of cardstock that you want to mat. Make sure any angles or edges are firmly held down. If they are not taped down well, your pencil will slide.

2. Choose your disc size that you want to use for your mat or multiple mats.
 3. Line up your disc and insert your pencil in the hole. Slowly roll your pencil tip along with the disc around the image your are outlining.
4. You will have a completely traced image when you are done.

5. Carefully cut around on your pencil lines. When you are finished, erase any remaining lines.
Tip: A shorter blade on your scissors helps you cut more accurately.
I hope this helps! Have a great day!
3 comments:
Love the hippo and thanks for the reminder about the layer ease...I completely forgot I had that and would work perfectly for the circles I wanted a little bit closer layered that the coluzzle can get me.
Thank you! I've been trying to figure it out the layer ease. It seems so obvious now that you've shown it but those little disks had me stumped.
I really appreciate the tutorial and your time :-)
Thank you So much for showing how to use it, I have had it sitting around not being able to work it out... now voila here I go, Thank you for all your inspiration and sharing of your lovely art work!
L & Hugs always,
Germana
Post a Comment